Paint a tile
We will see how to paint a tile. 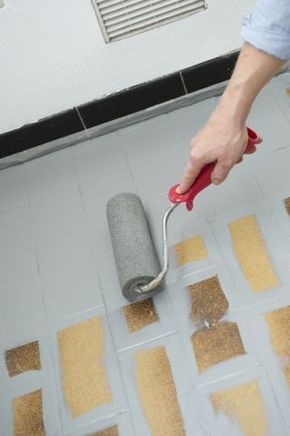
There is a multitude of solutions, most of the options offered are usually provided with single-component paints. These paints often lack adhesion and resistance over time.
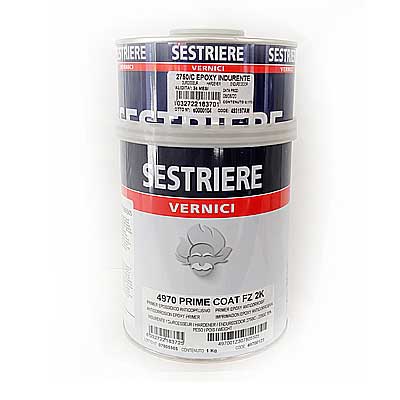
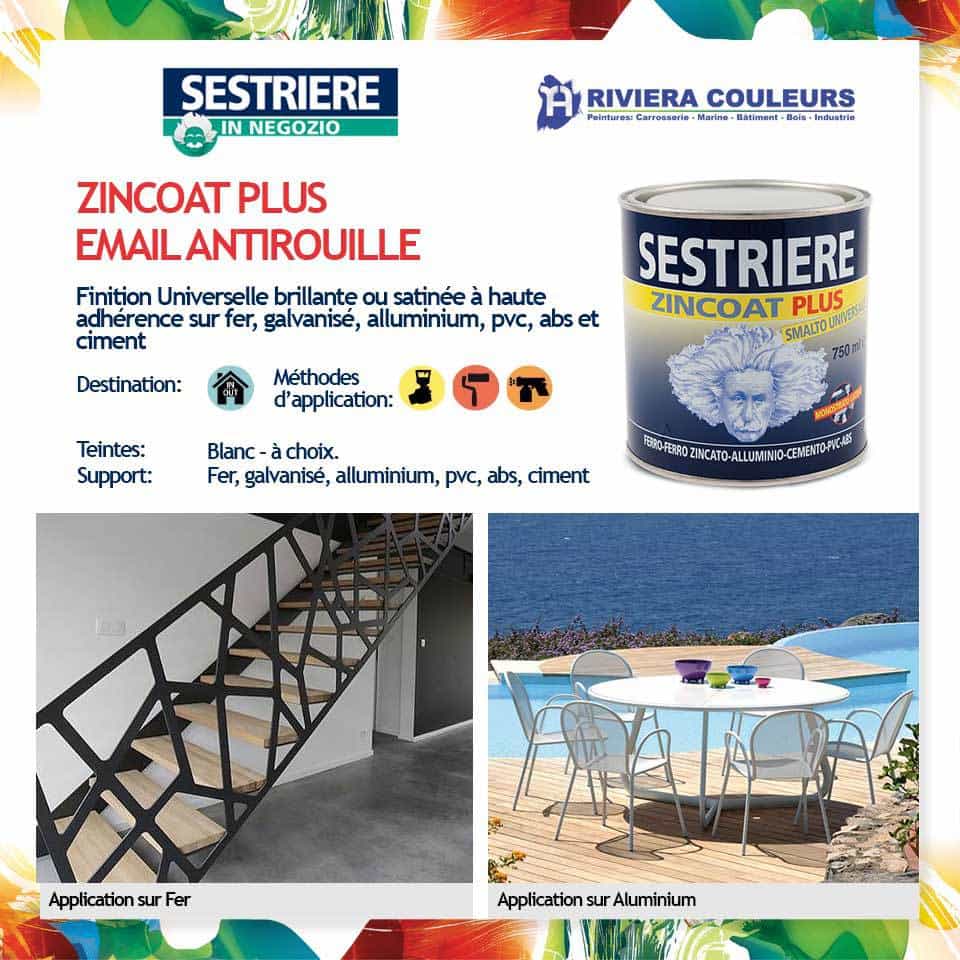
That's why we will only talk about two-component epoxy resin paint here. Whether for a bathroom, kitchen or laundry floor these epoxy resists cleaning products and abrasion.
The most important thing in every painting job is preparation. The main problem that can arise is poor adhesion. Which is due in almost all to bad preparation.
We will list below the necessary steps for a quality and sustainable result:
1. Preparation
If you have silicone gaskets in your room, remove them. Paints do not adhere to silicone, never. In addition the final result will be much more beautiful with joints redone on the new layers of paint.
2. Cleaning
It is important to clean the surface. The surface must be descaled and degreased.
With epoxy resins, do not use powder paint detergent. A descaler based on phosphoric acid or even phosphoric acid diluted to 20% will be very effective.
Once rinsed thoroughly to remove all remaining products, use a shot of alcohol to burn or acetone to be sure to have no fat part.
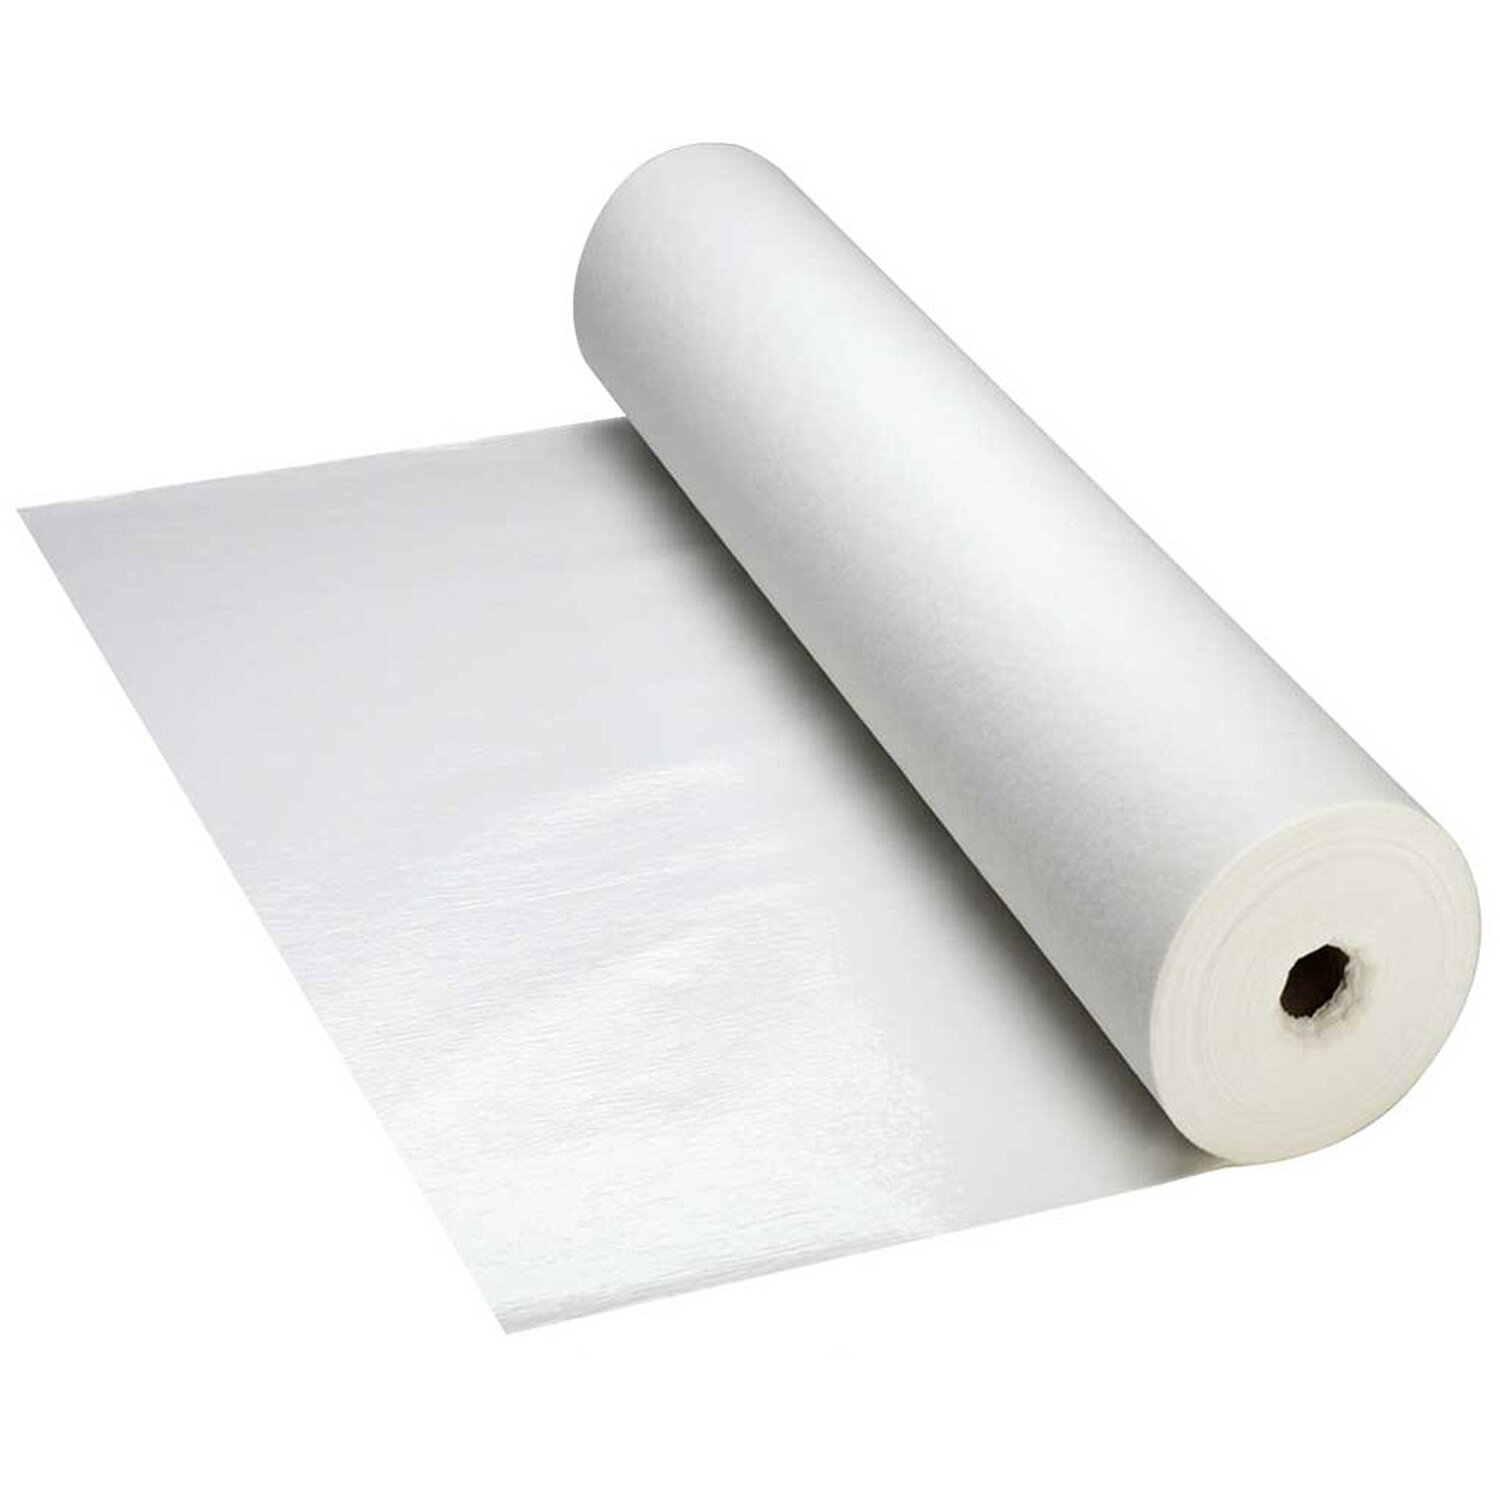
3. Protection
Lay the tape and necessary protection.
4. Painting
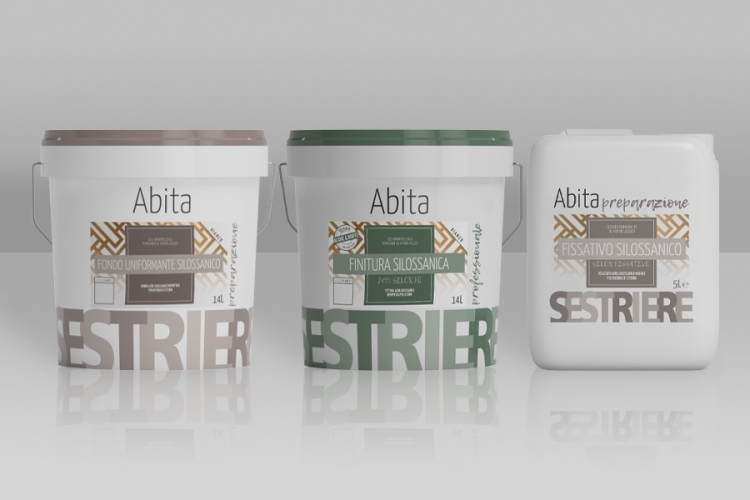
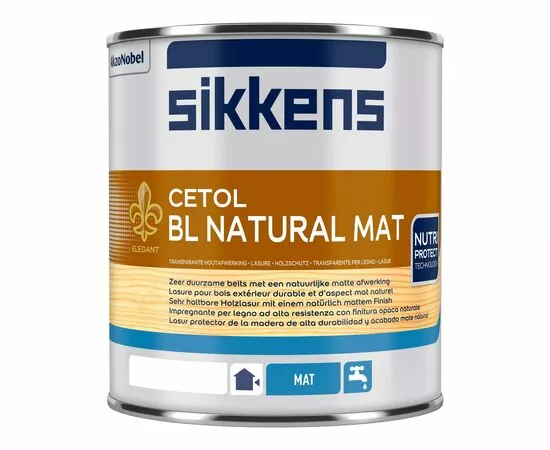
Today's epoxy resin-based paints provide superior adhesion and scratch resistance far superior to single-component products.
In addition you can use your favorite cleaning products without the risk of damaging your paintings. 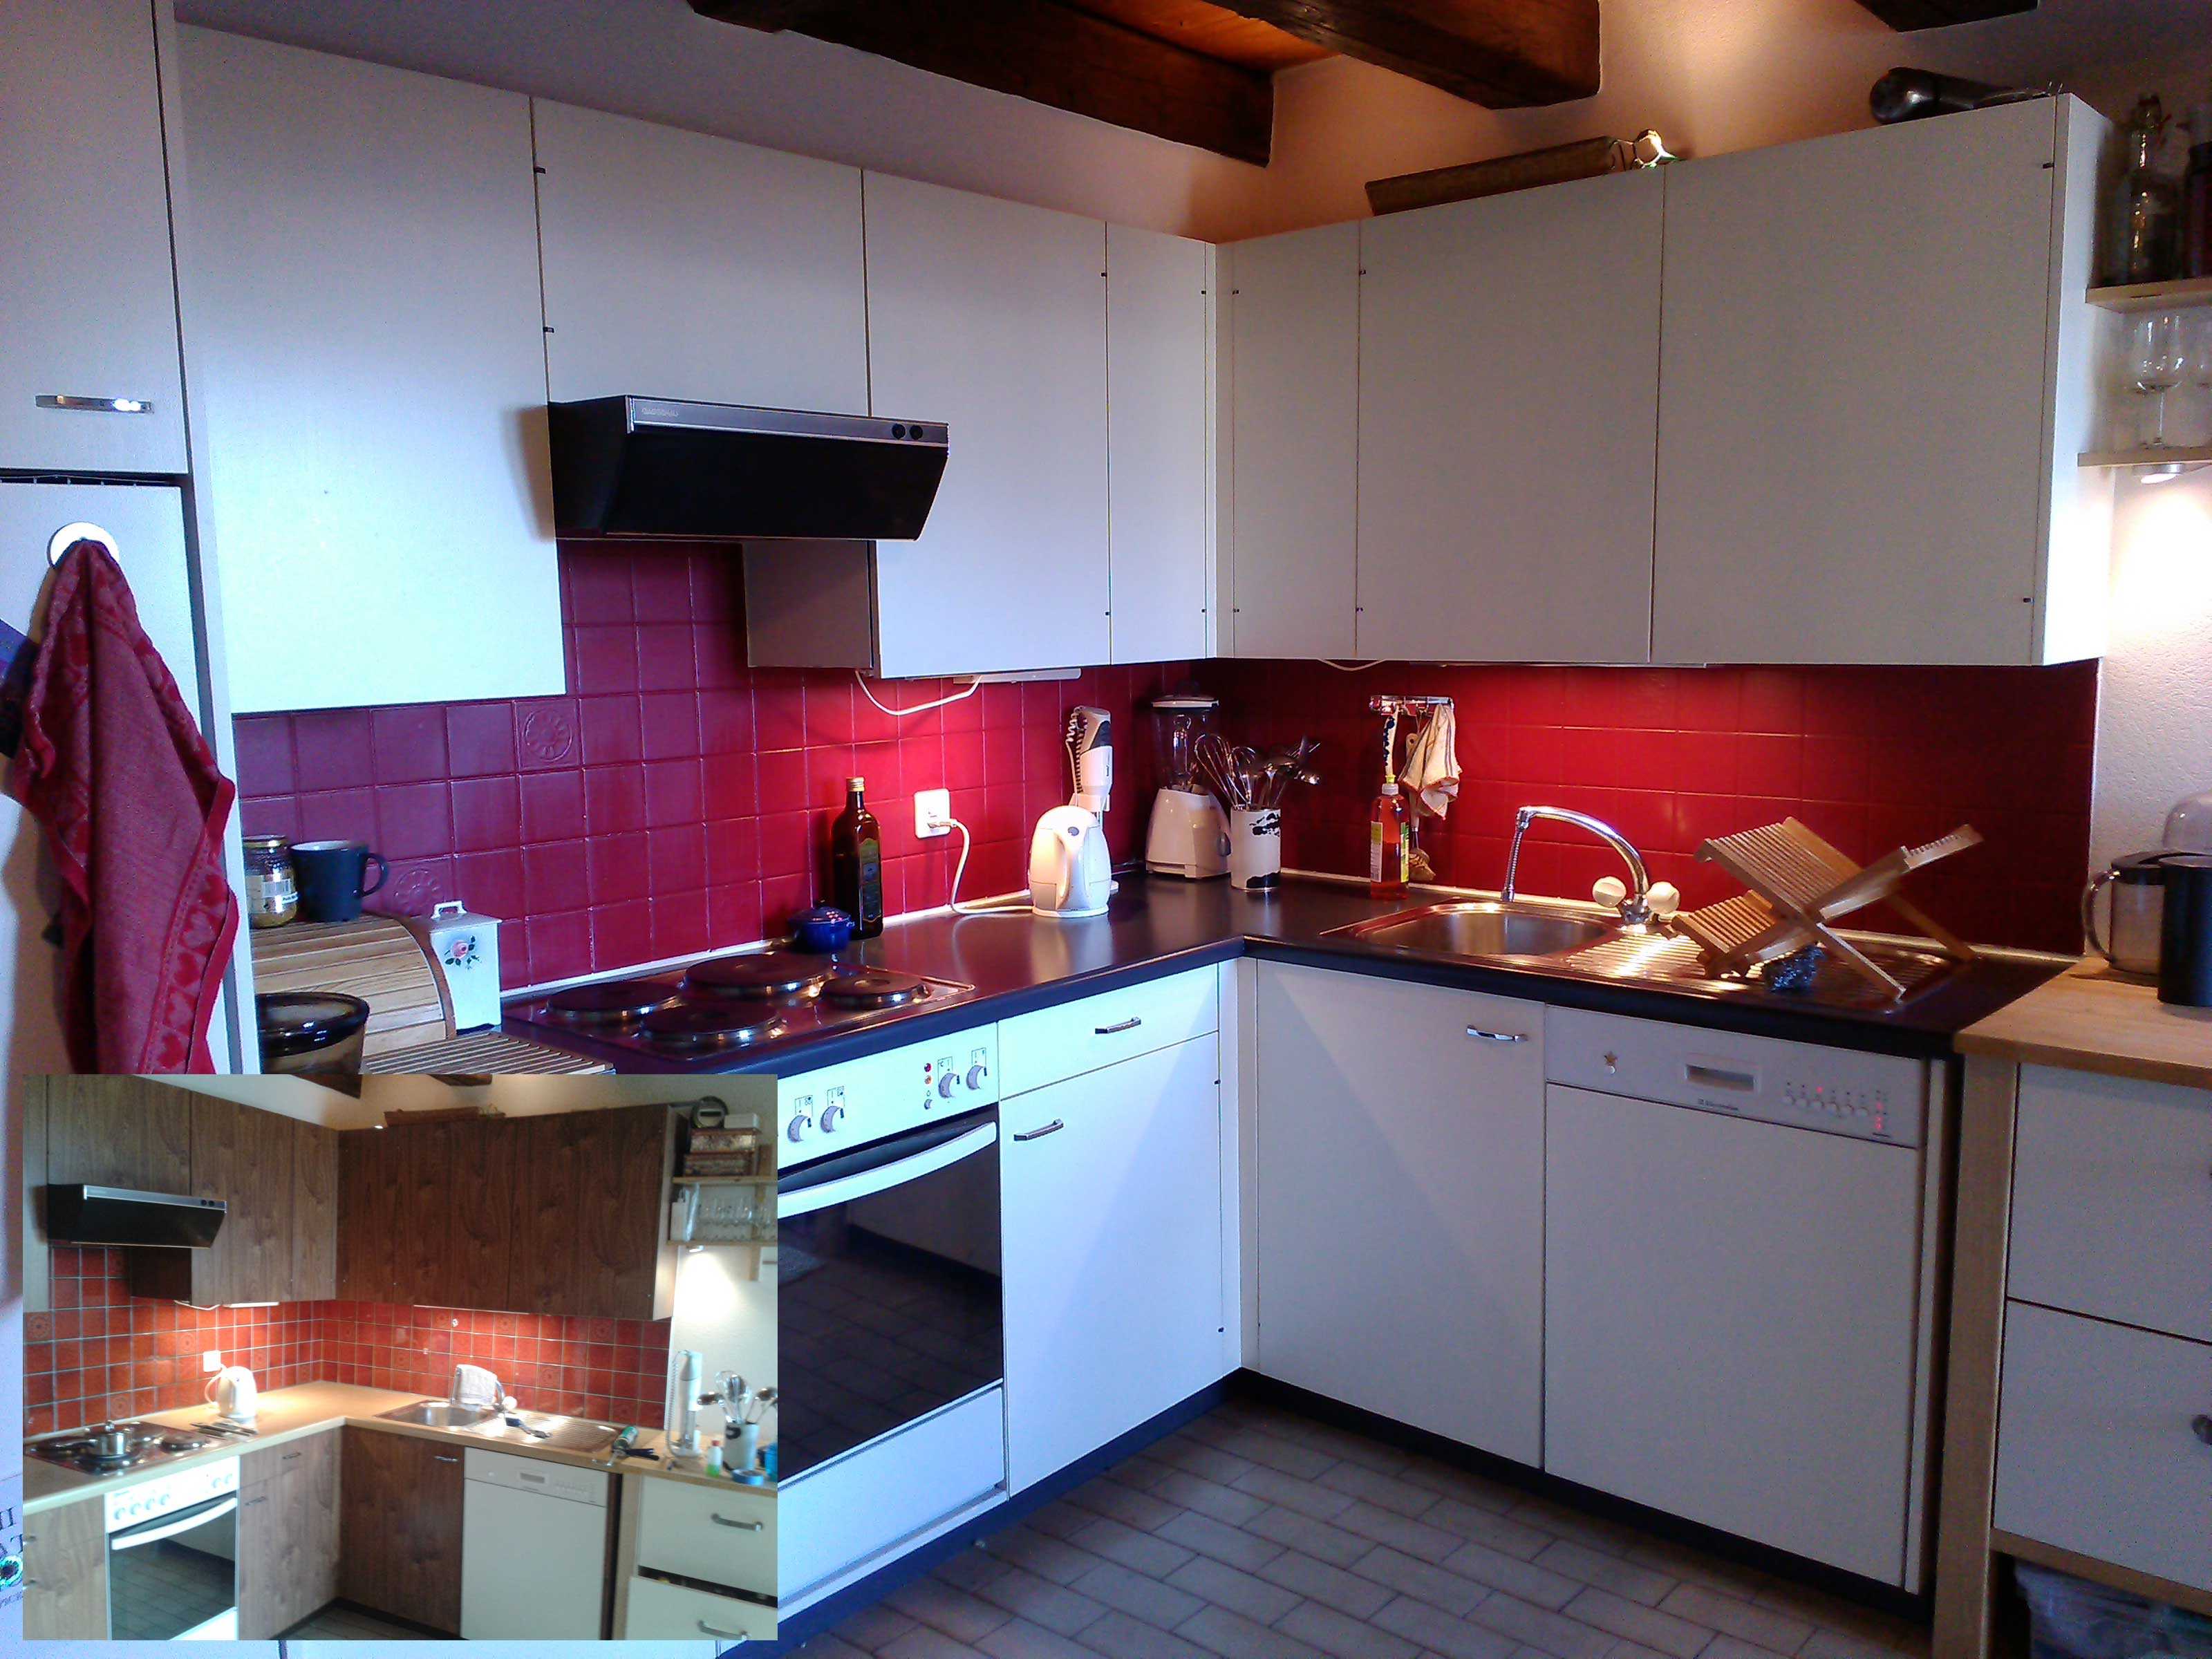
Pay attention to the paint-hardener ratio. It is usually 50% for these resins (1kg of paint for 500gr of hardener).
For the preparation a small kitchen scale and a small empty can will do the trick.
The mixture should not be used more than 3 hours. In order not to prepare too much paint at once a simple calculation allows you to prepare the right amount per layer.
Number of m2 * 150gr = amount of paint required per layer.
Generally two layers are sufficient. For these resins, a drying time of 16 to 18 hours is necessary.
5. Rehabilitation
After drying, remove the protections without delay to avoid deposits of glue. Repeat your silicone joints if needed.
There you go !
Be delicate with your new paintings the first days.
It takes 7 days to get their final resistance.
Recent posts


© 2012 - 2026 Riviera Couleurs SA.